How to Set Up Stripe for WordPress: WooCommerce, WPForms, and Recurring Payments
Integrating Stripe as a payment gateway on your WordPress site significantly enhances its eCommerce capabilities. The platform offers a developer-friendly API and lower transaction fees, which makes it a popular solution for accepting payments online.
However, since Stripe does not offer a native plugin to help you accept payments on WordPress, third-party plugins are necessary for integration.
This WordPress guide will explore various plugins that facilitate Stripe integration, each tailored to specific needs. Whether you’re running an online store, managing bookings, or setting up subscription services to handle recurring payments, these plugins will help you integrate a seamless payment option on your WordPress site.
Download Checklist: How to Start an Online Business
How to Obtain Stripe API Keys
To accept online payments with Stripe, you must first set up an account with the platform. The process is straightforward. You just need to provide the necessary information during sign-up, including bank account and tax details.
After completing the registration, Stripe will issue you a set of live API keys. These credentials enable Stripe integration on your WordPress website through third-party plugins.
Here’s how to obtain the API keys from your Stripe account:
- Access your Stripe dashboard – sign in to your Stripe account and navigate to the Developers section.
- Locate API keys – select the API keys tab in the Developers section to access the list, including their live and test modes.

- Reveal live key – click on the Reveal key button next to the corresponding key to display it in plain text.

- Copy and save key – store the keys securely as they connect your site with your bank account through Stripe to accept online payments.
- Repeat for test key – if you need to test the payment gateways, you can follow the same steps to reveal and copy the test mode key.
Make sure you have an SSL certificate installed on your website, as it’s a security requirement to start accepting payments. You can buy an SSL certificate from a reputable Certificate Authority. Alternatively, claim one from your hosting provider.
Hostinger provides free unlimited SSL certificates with its shared, cloud, and managed WordPress hosting plans. These certificates are automatically installed for all new and parked domains and subdomains added to your account, ensuring secure payments without hassle.

How to Set Up Stripe for WordPress
To accept payments with Stripe on WordPress, we’ll be using the Accept Stripe Payments plugin. This free plugin allows you to accept credit card payments and provides the flexibility to sell both digital and physical products.
Let’s jump into the steps for setting up a Stripe payment gateway for WordPress using this plugin:
Configure Settings
After installing and activating the plugin, you’ll need to configure the Stripe payment gateway for WordPress.
Here’s how to do it:
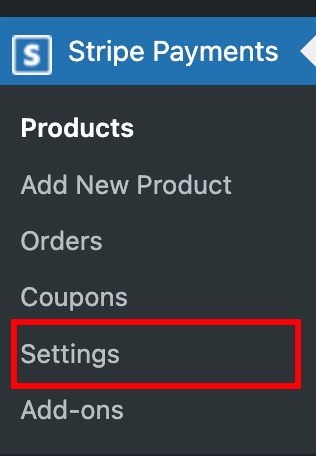
- Access the plugin settings page by clicking on Plugins → Installed Plugins → Stripe Payments → Settings. Alternatively, you can go to Stripe Payments → Settings directly from your WordPress dashboard’s sidebar menu.
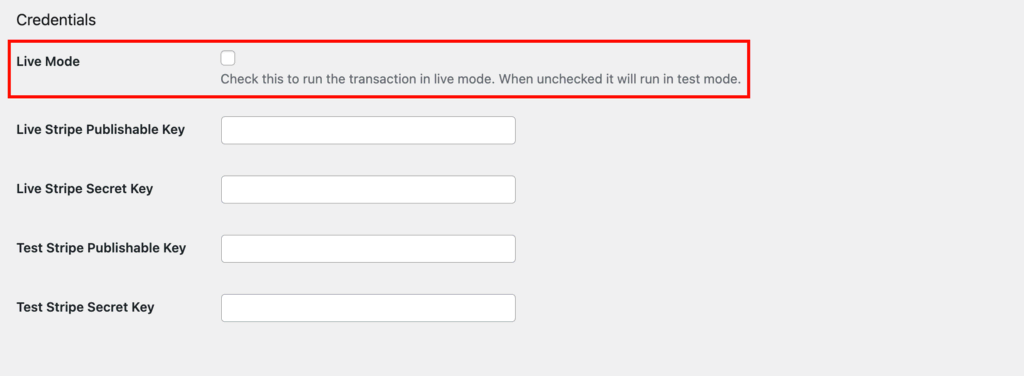
- Next, go to the General Settings tab and scroll down to the Credentials section.
- For live transactions, tick the Live Mode checkbox.
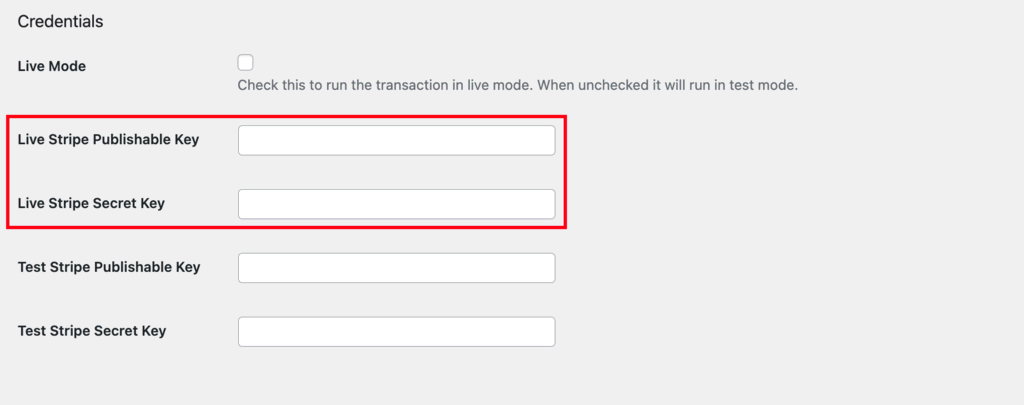
- Enter your Stripe Publishable Key and Stripe Secret Key in the respective fields.
- Scroll to the tab’s Currency section and confirm your currency.

- Next, click on the Email Settings tab and configure features such as sending confirmation emails after successful transactions, alert emails for failed transactions, and sale notification emails.

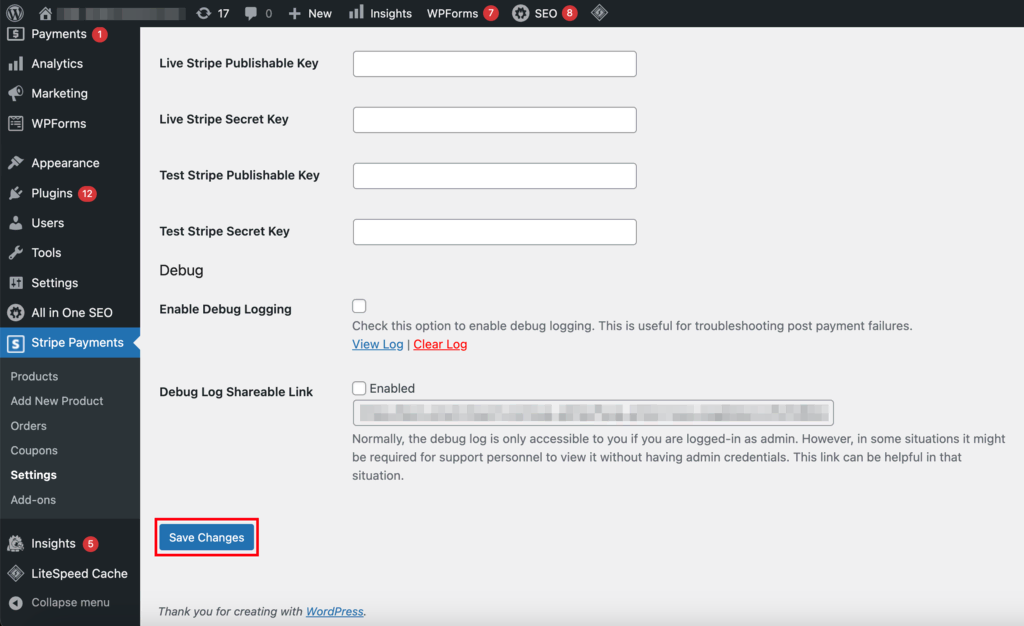
- Once you’re done configuring the settings, click on the Save Changes button at the bottom of each settings tab.
Create Products
Let’s now explore how you can create products for your online store using the plugin.
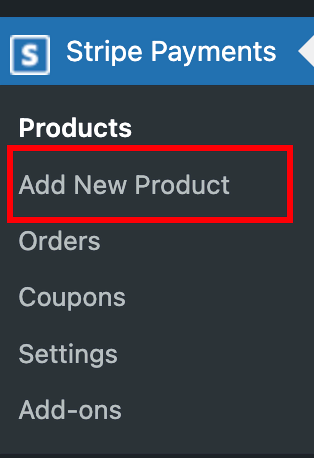
- Navigate to Add New Product under the Stripe Payments menu.
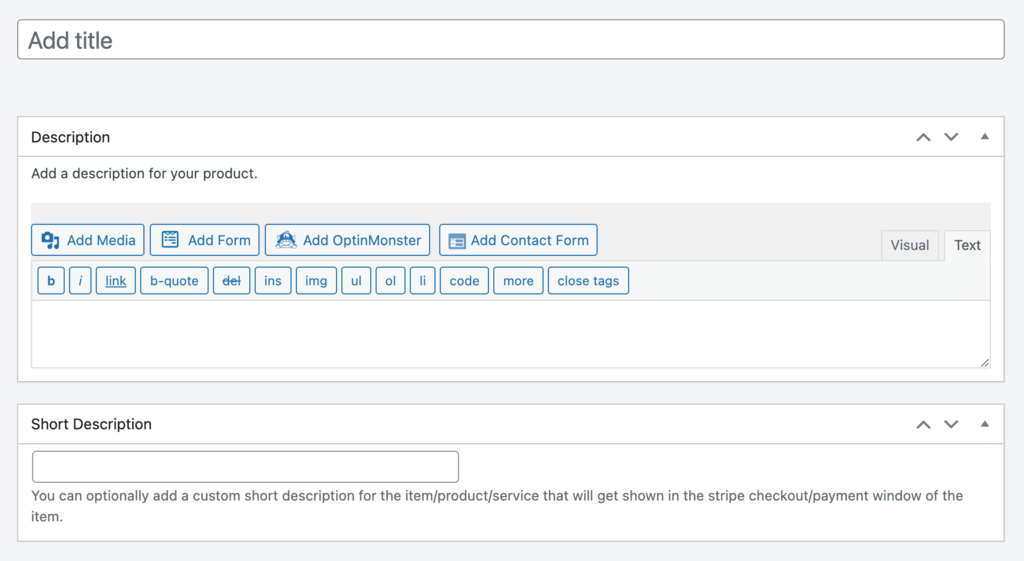
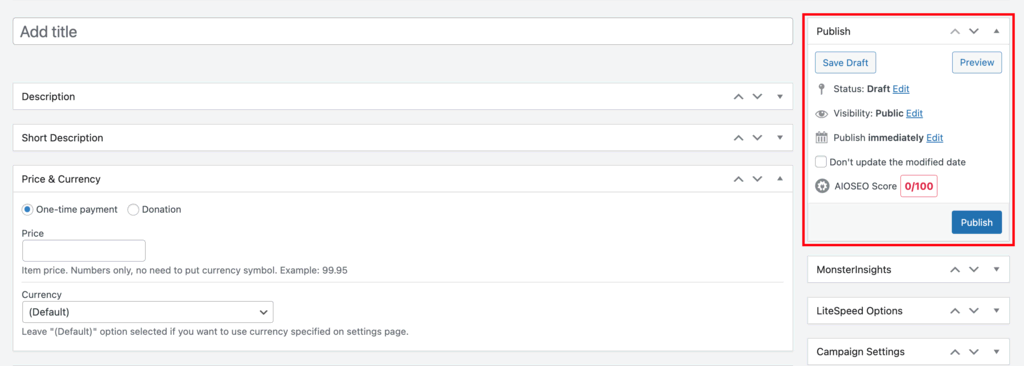
- Enter a product title and description.
- Scroll down to the Price and Currency section and set the price. Make sure the currency matches the one specified in General Settings.

- If you’re selling a physical product, scroll down to the Shipping and Tax section and enter the shipping cost and applicable tax rate.

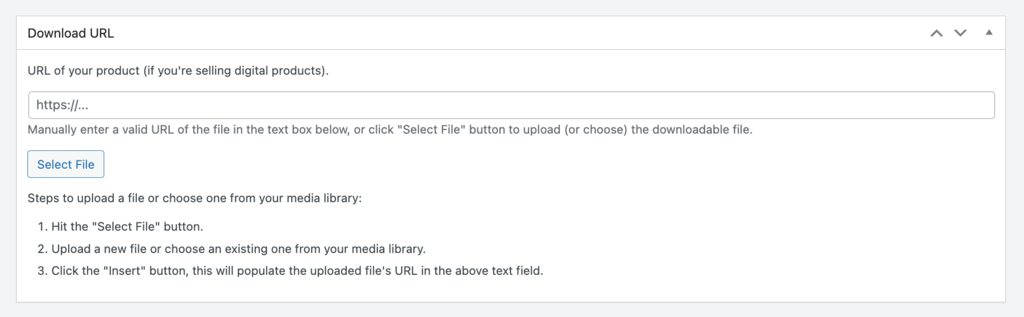
- To sell digital products, upload the file or insert the downloadable URL in the Download URL field.
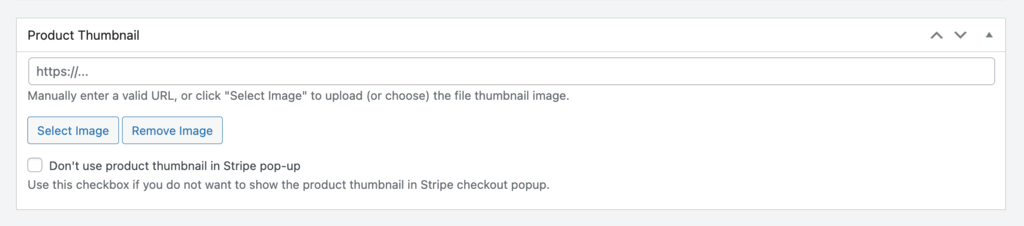
- The product creation page also gives you options to add a product thumbnail, collect billing and shipping addresses, and customize the Stripe payment button appearance. It’s also possible to set up a thank you page redirect from the Stripe checkout page after a successful transaction.
- After you’re done configuring all the payment features, save and publish the product details by clicking on the Publish button to the right of your screen.
Use Product Shortcodes
Once a product is live, you can find its shortcode by going to Stripe Payments → Products.
Then, copy and paste the shortcode into any post or page on your site. The code automatically creates a Buy Now Stripe button once you paste and publish it.
How to Set Up Stripe for WooCommerce
WooCommerce is a popular WordPress plugin that turns your WordPress site into a complete online store. For this guide, we’ll be using the WooCommerce Stripe Payment Gateway plugin to set up Stripe.
This WordPress plugin supports standard WooCommerce payment methods, such as credit and debit cards, along with digital payment options like Apple Pay and Google Pay.
Let’s look at the steps to add Stripe to WooCommerce Stripe Payment Gateway:
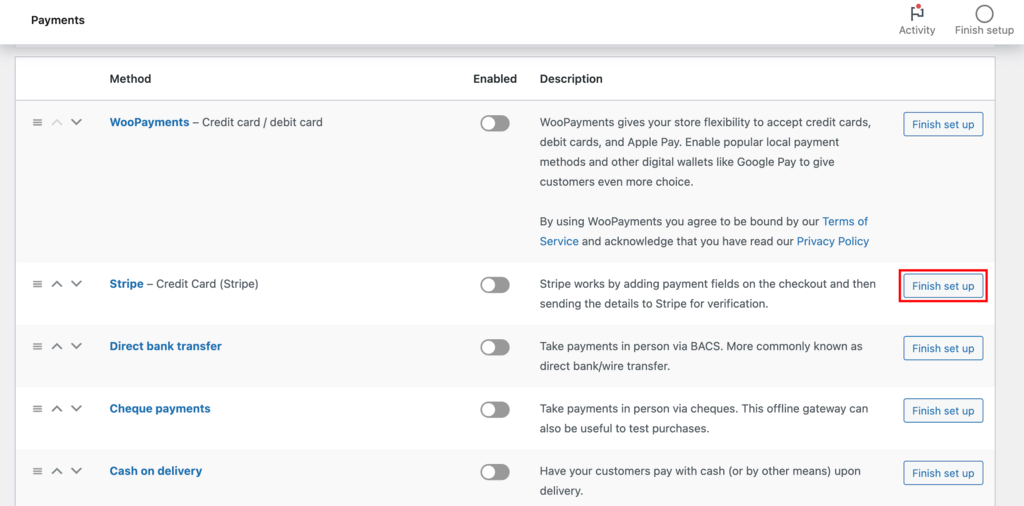
- Configure Stripe in WooCommerce by navigating to WooCommerce → Settings → Payments. Here, you’ll see a list of payment methods. Find Stripe – Credit Card (Stripe) and click Finish set up.
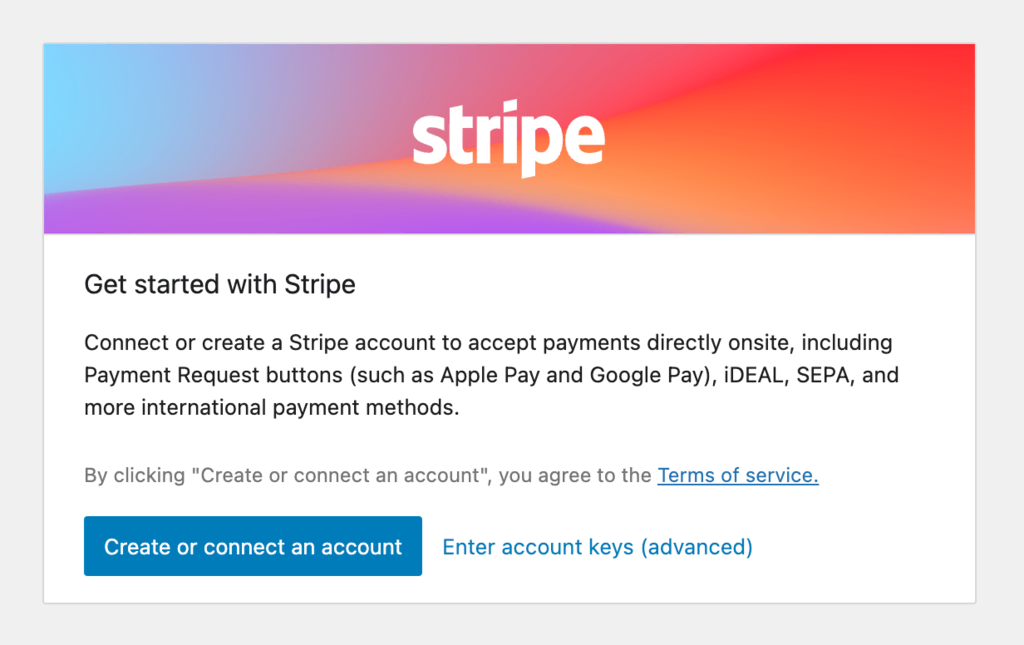
- In the next window, click on Create or connect an account to link the plugin to your Stripe account. Alternatively, choose Enter account keys (advanced) if you prefer to input your Stripe API keys manually.
- Adjust the transaction settings, payment receipts, and payment method’s title and description for the Stripe checkout page.
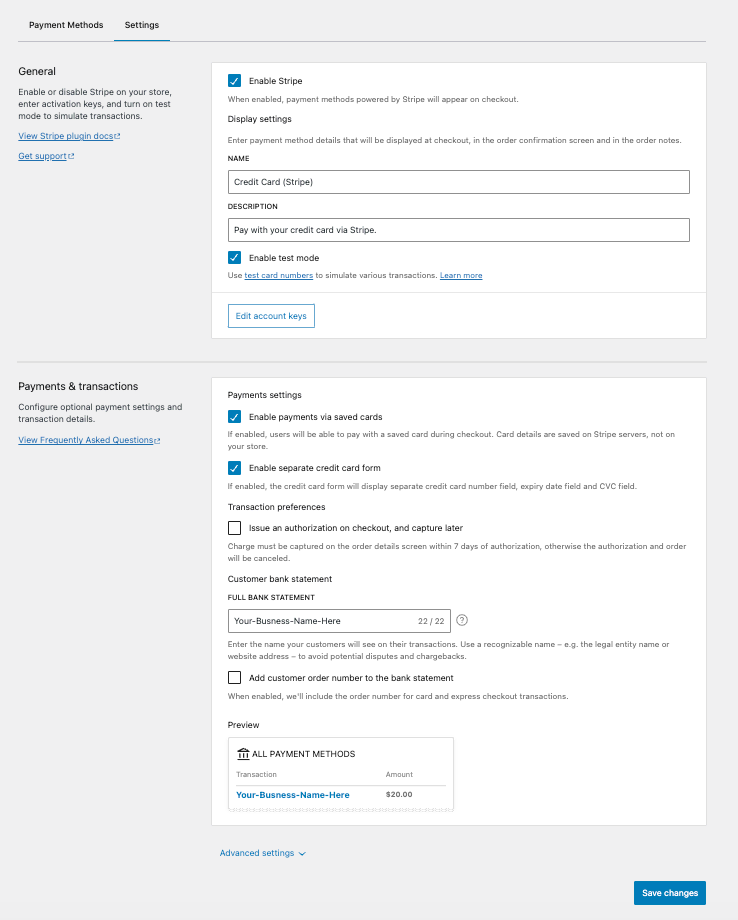
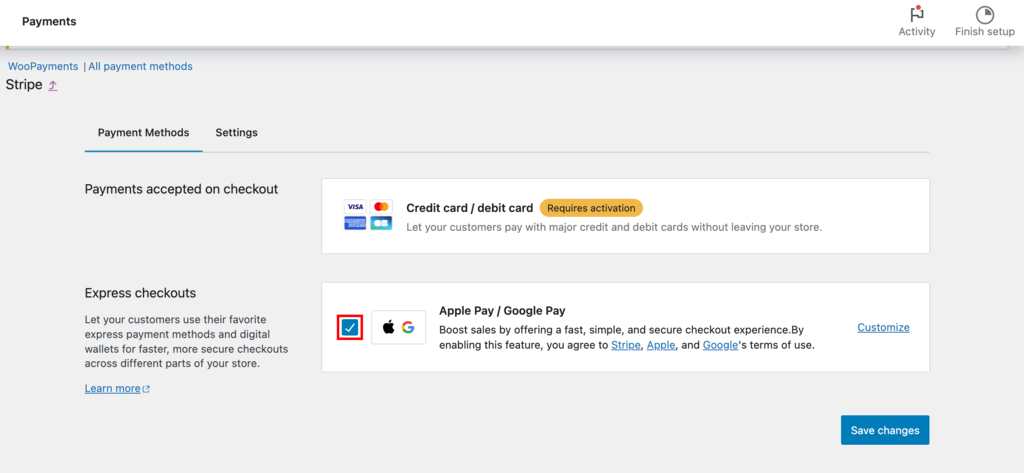
- Go to the Payment Methods section and enable express checkouts to accept payments from Apple Pay and Google Pay.
- Use the Test Mode to conduct trial transactions without making real payments. This step ensures that the integration works so you can launch your WordPress website with a proper payment flow.
- Once you’re satisfied with the functionality, switch to Live Mode in the Stripe settings to start accepting payments.
Keep in mind to regularly update the WooCommerce extensions to ensure plugin compatibility and maintain optimal security.
How to Set Up Stripe With WPForms
WPForms is a powerful WordPress plugin that lets you build unlimited payment forms, including options for subscriptions, bookings, and donations.
You can easily accept payments online through these forms by integrating Stripe into WPForms. To do this, you need to install the WPForms Pro plugin and have access to the Stripe add-on.
Important! If you use the Stripe payment form with the free version of WPForms, you will incur a 3% fee on every transaction in addition to Stripe fees. Upgrading to the WPForms Pro license or higher removes these additional transaction fees.
Here’s how you can connect your Stripe account to WPForms:
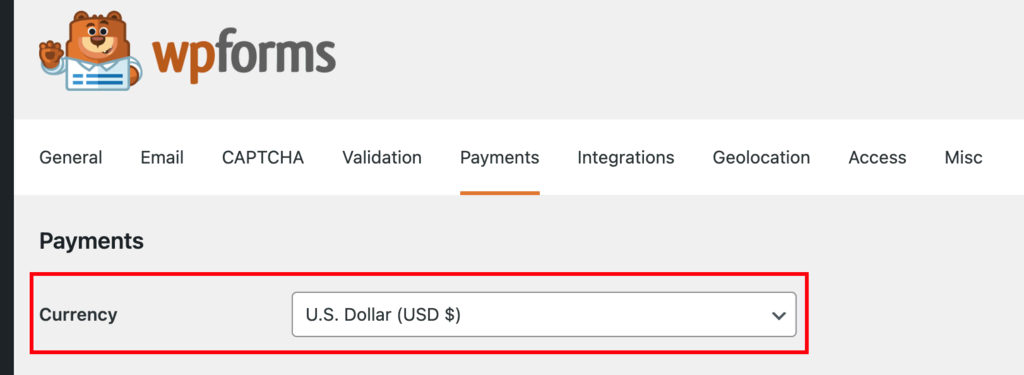
- Access the WPForms payment settings from your WordPress dashboard by heading to Plugins → Installed Plugins → WPForms → Settings → Payments.
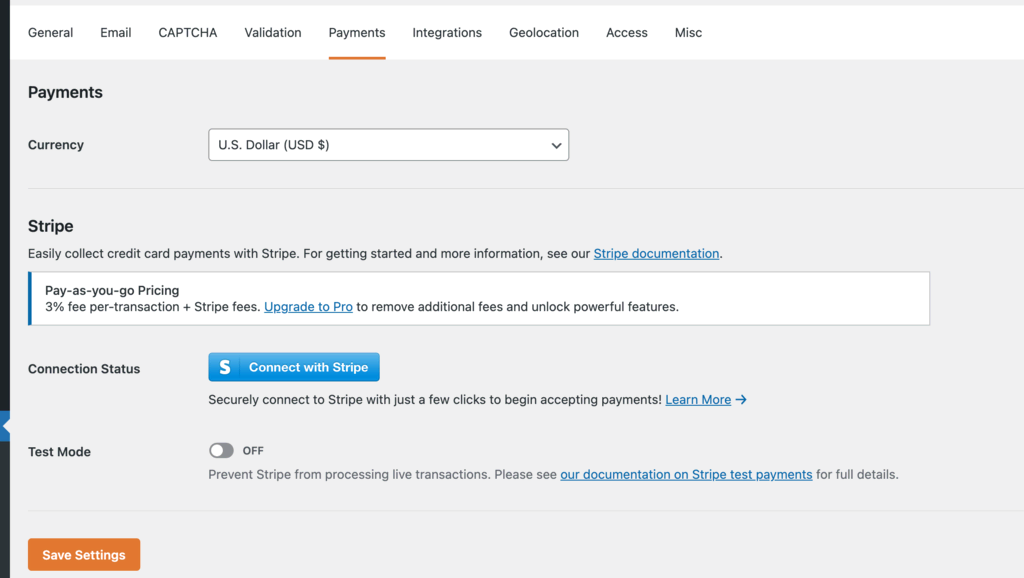
- Adjust the default currency and make sure it matches your site’s currency.
- Scroll down to the Stripe section and click on Connect with Stripe to link your Stripe account.
- Log in to your Stripe account through the Stripe Connect wizard and follow the provided steps to finish the integration.

- After completing the Stripe Connect wizard, you’ll be redirected to your dashboard’s admin area. There, you should see a green checkmark indicating a successful Connection Status.

Now, it’s time to set up Stripe webhooks. Configuring them in WPForms enables real-time updates from your custom payment forms. Webhooks alert you on payment confirmations, charge disputes, and recurring payment successes.
They are automatically enabled for WPForms v1.8.4 and up when you connect your Stripe account. If autoconfiguration doesn’t work, you can also manually set up Stripe webhooks.
Finally, create your checkout pages in the form builder. After connecting your Stripe account, start making a payment form by going to WPForms → Add New. Add the Stripe payment fields, then configure your form to process either one-time or recurring subscription payments.
How to Set Up Stripe for Subscription-Based Payments
Setting up Stripe recurring payments for WordPress is efficient with the WP Simple Pay plugin. This method is ideal for websites that sell subscription-based services.
Before proceeding, it’s important to note that WP Simple Pay Lite does not support recurring payments. You’ll have to upgrade to the Pro version to use this feature.
Start by installing and activating WP Simple Pay Pro. If you already have WP Simple Pay Lite installed, you can go to the Installed Plugins section and click on Upgrade to Pro next to the plugin.
Once that’s done, follow these Stripe integration steps to connect the plugin to the platform:
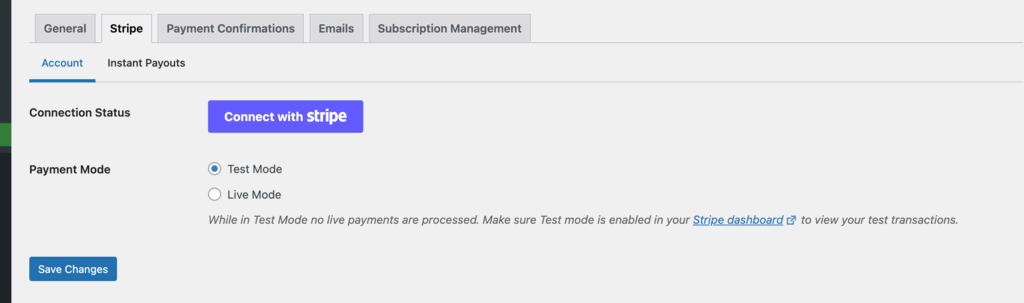
- To connect WP Simple Pay to Stripe, go to Plugins → Installed Plugins → WP Simple Pay → Settings → Stripe. Click on Connect with Stripe to launch the setup wizard.
- Go to WP Simple Pay → Add New to create a new recurring payment form.
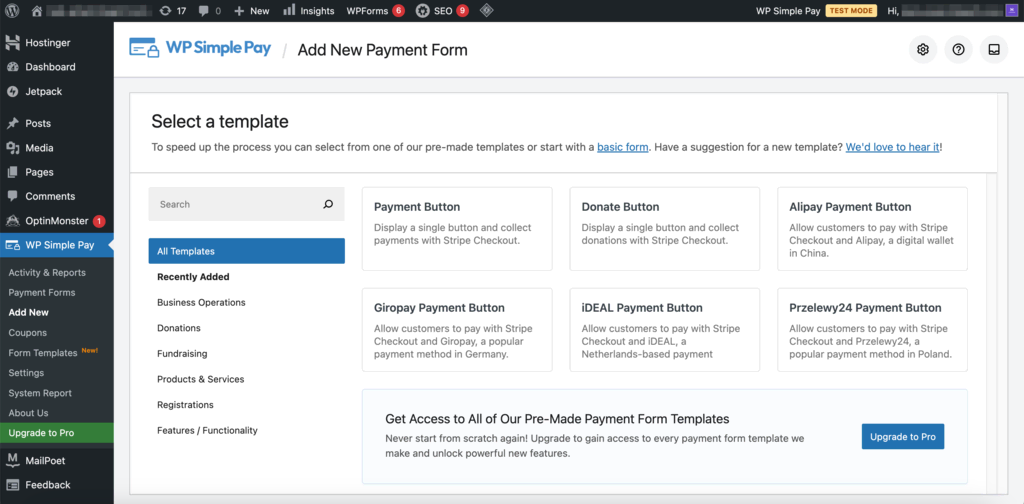
- The plugin gives you several pre-built templates for payment forms, including an opt-in subscription form that is set up to accept monthly fees.
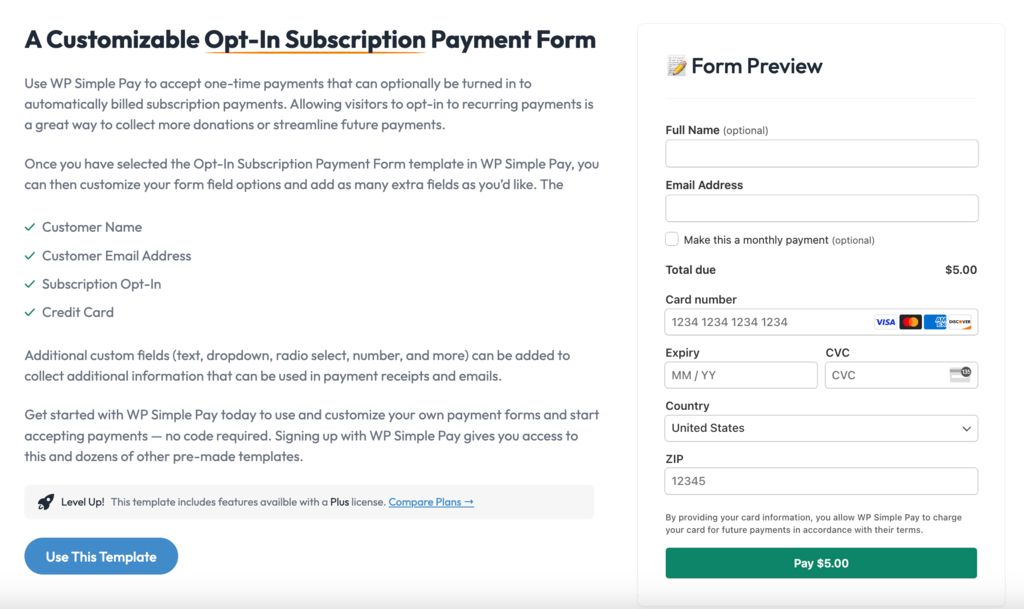
- Customize the pricing options in the form builder under the Payments tab and adjust the billing period as needed for periodic payments.
- Make sure the Card payment method is selected so you can automatically accept credit card payments on a monthly basis.
- Use the testing mode to thoroughly test the form before going live. Once ready, add the form to a WordPress page or post using the WP Simple Pay block, then publish or update the page.
Tips for Setting Up Stripe for WordPress
When setting up Stripe for your WordPress website, it’s crucial to take certain measures to ensure a secure and efficient payment process.
Here are some essential tips:
Secure Your WordPress Website
When setting up a payment gateway, it’s vital to secure your website and database to protect customers’ payment information and prevent fraud. A key step in this process is installing an SSL certificate, which encrypts data transfers between your website and its users.
Having an SSL certificate is also necessary for all eCommerce websites. The Payment Card Industry Data Security Standard (PCI DSS) requires all merchants who store, process, or transmit credit card payments data to comply with specific security standards.
Hostinger provides free lifetime SSL certificates, adding an extra layer of security to your website to ensure you are PCI DSS compliant.
Make a Test Payment
Before you enable Stripe transactions on your site, be sure to test out the payment features to ensure the payment gateways function correctly.
This step is vital to identify and resolve any issues on your Stripe checkout pages. Failed payments can harm your site’s and business’ reputation. Effective testing guarantees a smooth transaction experience for your customers to drive conversions.
Choose the Right Plugin or Add-on
The choice of Stripe plugins and add-ons for WordPress is vast, each offering different features and benefits. Select a plugin that is compatible with your site’s theme and plugins. Also, choose a plugin that is regularly updated by its developers to ensure payment data security.
Here are some Stripe plugins we recommend for starting an online store:
- WooCommerce Stripe Payment Gateway – ideal for seamless integration with WooCommerce.
- WP Simple Pay – a straightforward tool to accept credit card payments on a recurring basis, suitable for sites that are not a full WordPress eCommerce platform.
- Accept Stripe Payments – facilitates direct credit card payments on your site.
- WPForms with Stripe Add-on – perfect for creating various forms that require payment functionality.
- Easy Digital Downloads – specifically designed for selling virtual products.
Conclusion
Integrating Stripe into your WordPress site enhances your online business’ payment processing capabilities. While Stripe doesn’t offer a native WordPress plugin, several effective third-party plugins bridge this gap.
The options we’ve explored are designed to cater to different business needs, offering user-friendly interfaces and specialized features. They also offer a simple and intuitive setup process that doesn’t require you to have technical knowledge.
When choosing a plugin, consider compatibility with your site’s infrastructure and the specific requirements of your business.
Also, remember to secure your website with an SSL certificate to protect online transactions and maintain customer trust. This step is not just about compliance but also about ensuring a safe and reliable shopping experience for customers.
Stripe for WordPress FAQ
Let’s delve into some of the most frequently asked questions about WordPress-Stripe integrations.
What Is Stripe?
Stripe is a comprehensive payment processing platform designed to handle online financial transactions. Its ease of use, integration, security, and support for a wide range of payment methods make it a popular choice for people creating an eCommerce site, including those powered by WordPress.
What Are the Benefits of Using Stripe for WordPress?
Using Stripe with WordPress offers multiple benefits, including secure and reliable payment processing, a seamless user experience, and support for a variety of payment methods. It provides robust fraud protection, real-time analytics, and easy integration with WordPress plugins, enhancing both the functionality and efficiency of eCommerce sites.
How Do I Connect My WordPress Site to Stripe?
To connect your WordPress site to Stripe, choose a compatible plugin like WooCommerce Stripe Payment Gateway or Accept Stripe Payments. Install the plugin, set up your Stripe account, and enter the API keys. This enables secure payment processing on your WordPress site.

Akshay is a Senior Content Writer who loves writing about technology. As a Computer Engineering graduate and a certified digital marketer, he aims to make tech easier for everyone. He also enjoys cooking, traveling, and learning new languages. Follow him on LinkedIn